REVIEW · BRUGES
2-Hour Historical Walking Tour in Bruges with Praline Included
Book on Viator →Operated by Quality Guides · Bookable on Viator
Bruges is best when you learn its map fast. This 2-hour historical walk strings the city’s key sights into one clear story, with a praline stop built into the route. I like that you get a compact overview of medieval power, war, art, and everyday life, all at a relaxed walking pace. One thing to keep in mind: the tour’s base price is low, and the guide’s income is tip-based, so plan to tip at the end.
The route also makes smart use of Bruges’ geography. You move through the big squares first, then slide toward the water and back again, so each new stop feels connected instead of random sightseeing. If you’re trying to decide what to revisit later, this style of walk helps you choose with confidence.
The best part is how practical it feels in real life. You’re not stuck in a lecture hall—you pause, look, take photos, and get next-step suggestions for what to do after. Just come with comfortable shoes and expect a moderate amount of walking over cobbles.
In This Review
- Key Highlights You’ll Feel on This Walk
- Why This 2-Hour Walk Works So Well in Bruges
- Price, Pralines, and What You Actually Get
- Your Route From Markt to Burg Square: The Real Story Behind the Sights
- Stop 1: Burg Square to Set the Time Period
- Stop 2: The Markt and Its Medieval Marketplace
- Stop 3: Belfort—From Cloth Wealth to Modern-Day Challenges
- Stop 4: Praalboog Pro Patria—War and Belgium’s Independence
- Gruuthuse, Beer, and Church Art: Where Bruges Gets Specific
- Stop 5: Praalboog Pro Patria’s Neighborhood—And Canal Tour Clues
- Stop 6: Gruuthusemuseum—Beer, Gruut, and the Hop Switch
- Stop 7: O.L.V.-kerk Museum—Art That Hits Hard
- Medieval Medicine, Photo Spots, and the City’s Darker Corners
- Stop 8: Saint John’s Hospital—How Pralines Enter the Story
- Stop 9: Sint-Janskaai—Stand by the Water for the Medieval Backdrop
- Stop 10: Huisbrouwerij De Halve Maan—A Brewery With a Pipeline Under the City
- Stop 11: Stoofstraat—The Middle Ages Had Its Own Red Light District
- Stop 12: Katelijnestraat—Chocolate, Waffles, Fries, and the Plague Years
- Bridges, Art Museums, and the Best Water Views
- Stop 13: Boniface Bridge—Love Bridge With a Twist
- Stop 14: Groeningemuseum—Flemish Primitives Up Close (Even From Outside)
- Stop: Dijver—Old Port, Viking Loot, and Big-Terrace Views
- Stop 15: Rosary Quay—The Photo of Bruges
- Stop 16: Huidenvettersplein—Tanners, Smells, and Modern Eating
- Stop 17: Vismarkt—Two Fish Markets and Three Styles of Architecture
- Stop 18: Back to Burg Square—Town Hall, Blood Chapel, Courthouse
- What Guides Like Peter and Joost Add (Beyond the Facts)
- Practical Tips to Make the Most of Your 2 Hours
- Should You Book This Tour?
Key Highlights You’ll Feel on This Walk
- A tight 2-hour route that hits major Bruges landmarks without dragging.
- Praline included, tied to a real chocolate-shop stop (and availability depends on the shop being open).
- Small group size (max 6), which helps the guide keep your ears pointed the right way.
- Photo-ready waterside stops like Sint-Janskaai, Dijver, and Rosary Quay.
- A story-driven route that links squares, churches, museums, streets, and bridges into one timeline.
Why This 2-Hour Walk Works So Well in Bruges
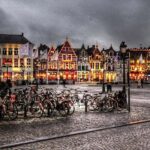
Bruges can feel like a movie set—pretty, yes, but also easy to get lost in. This tour is built for getting oriented fast. In just two hours, you’ll learn how the city’s center grew around power and trade, then later how wars and changing economics reshaped what you see today.
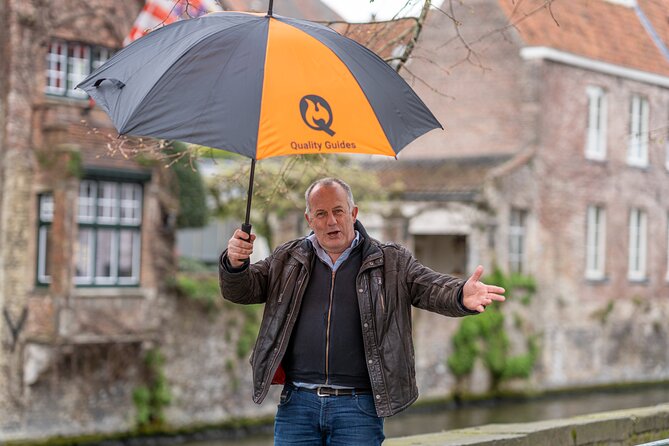
You’ll also walk with a guide who clearly loves the city. In recent groups, guides like Peter and Joost set a lively pace with humor, and the tour stays easy to follow. I like that the stops are short enough to keep energy up, but long enough to let you actually look around before moving on.
And because the group is small, you’re not just listening—you’re watching. You’ll get a sense of where the Belfry looks best, how the streets funnel you toward the water, and why the church and museum sites matter beyond their postcard faces.
You can also read our reviews of more walking tours in Bruges

Price, Pralines, and What You Actually Get
The listed price is $3.63 per person for a tour that runs about 2 hours and is offered in English with a mobile ticket. On paper, it looks almost too good to be true. In practice, the value comes from what you’re buying: a guided threading of Bruges’ highlights in a short window, plus a guided path for deciding what to explore deeper.
Two details matter here:
1) The praline is real, but not always guaranteed.
You’ll be offered a praline crafted by the Guild of Bruges Chocolatiers—but it’s only available if the relevant shop is actually open. That’s normal for a walking route, but it’s worth mentally planning around.
2) The tour is tip-based in spirit.
A few guests have mentioned they weren’t expecting the end-of-tour tipping dynamic. So if you book, plan to tip the guide for the time, storytelling, and pacing.
The good news: the reviews repeatedly point to a high entertainment-to-information ratio. And that matters—because if your guide keeps the pace smooth and the stories flowing, you’ll walk away with Bruges that feels understandable, not just photographed.
Your Route From Markt to Burg Square: The Real Story Behind the Sights
You meet at Markt 4 in Bruges, and the walk ends back at the meeting point. The rhythm is simple: you start in the civic heart, move into medieval institutions and war memory, then weave through churches, markets, chocolate-and-food streets, bridges, museums, and finally end where Bruges rounds off the story.
Stop 1: Burg Square to Set the Time Period
You begin at Burg Square, where you’ll hear how the city’s history took shape. This is one of those places where the buildings look like they’ve always been there, yet the stories behind them explain why Bruges became such a power center in the first place. It’s a strong opener because it gives you a baseline for everything you’ll see later.
Stop 2: The Markt and Its Medieval Marketplace
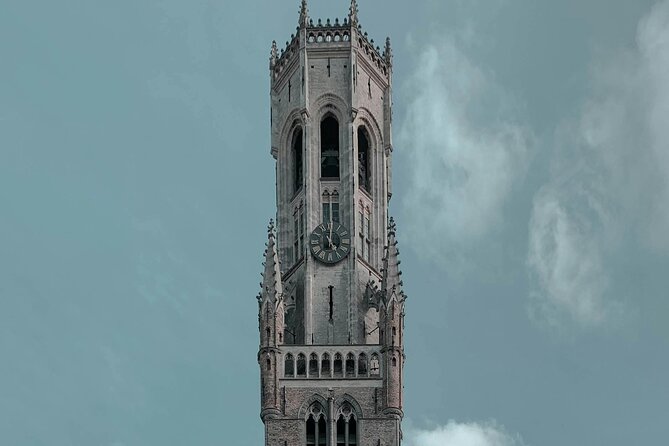
Next comes The Markt, built around the Belfry area and the surrounding water halls and cloth halls. You’ll see medieval buildings that once supported trade and wealth. Even if you’re not an architecture nut, the key takeaway is obvious: Bruges’ center wasn’t just pretty—it was functional, competitive, and rich.
You can also read our reviews of more historical tours in Bruges
Stop 3: Belfort—From Cloth Wealth to Modern-Day Challenges
At the Belfort, you’ll connect the Belfry’s origins to the cloth hall wealth that fueled the city. You’ll also get the idea that historic structures run into real-world problems over time. That makes the Belfry feel less like a static monument and more like a living responsibility.
Stop 4: Praalboog Pro Patria—War and Belgium’s Independence
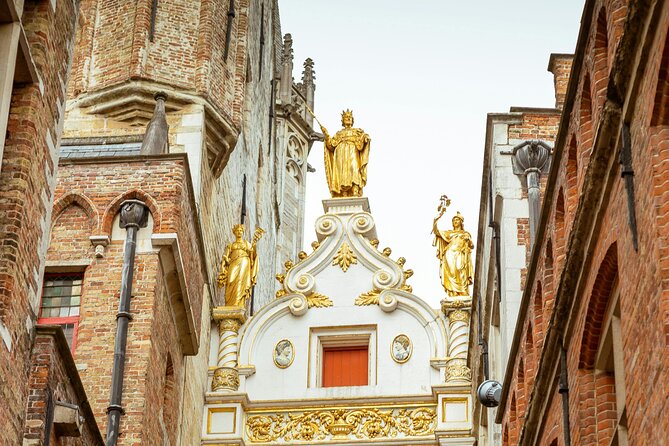
You then reach Praalboog Pro Patria, a stop that shifts the story into the First and Second World Wars and Belgium’s independence. Bruges isn’t only medieval glory; it also carries modern national memory in stone. It’s a good moment to reframe what you’re seeing—these streets have kept meaning through major historical changes.
Gruuthuse, Beer, and Church Art: Where Bruges Gets Specific
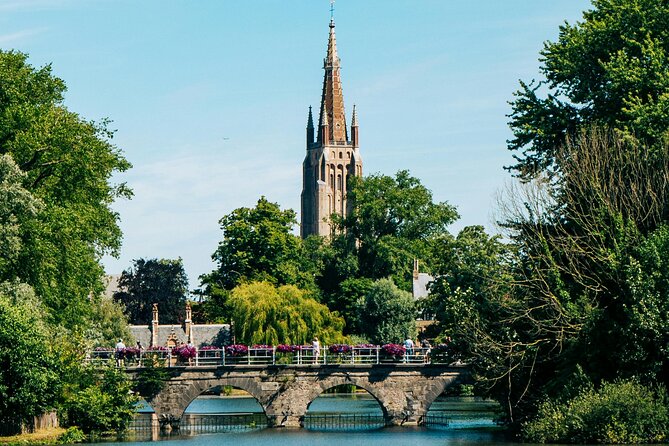
This section is where Bruges starts feeling less like a highlight reel and more like a place with industries, ideas, and everyday power.
Stop 5: Praalboog Pro Patria’s Neighborhood—And Canal Tour Clues
At Beschermcomité Gruuthuse, you see the Gothic gate of Gruuthuse and get a sense of how canal tourism fits into the city today. It’s a quick stop, but it helps you connect the present-day canals with the city’s older role as a trade crossroads.
Stop 6: Gruuthusemuseum—Beer, Gruut, and the Hop Switch
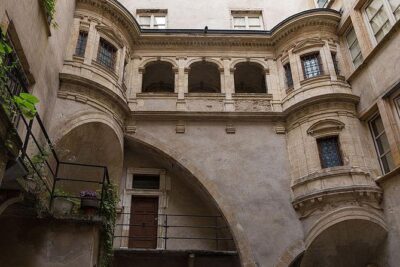
In the Gruuthuse Museum, the story pivots into beer history. You’ll stand in the courtyard and hear how the resident became wealthy through Gruut, and why there was a shift toward hops. For me, this is one of the most memorable segments because it explains a niche topic in a way that feels practical: you see how a product, a policy, and a market change can shape culture.
Stop 7: O.L.V.-kerk Museum—Art That Hits Hard
At the O.L.V.-kerk Museum, you’ll encounter the church of Bruges and hear about priceless works including the Pietà. Even if you don’t plan to go inside every museum later, this is a meaningful stop because it tells you what makes the church important beyond the exterior.
Medieval Medicine, Photo Spots, and the City’s Darker Corners
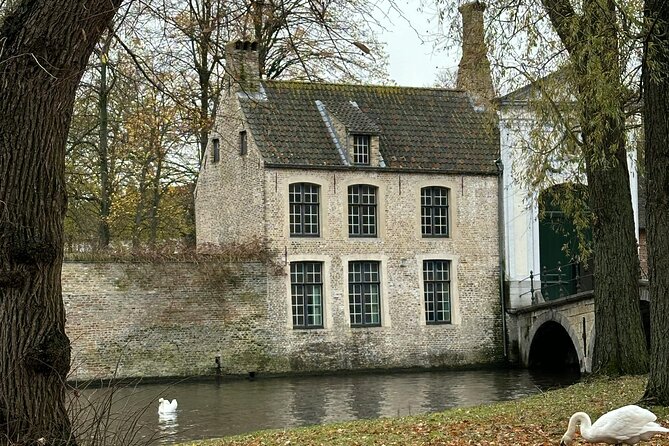
This stretch gives you Bruges’ softer side (medicine and daily life) and its sharper edges (street history).
Stop 8: Saint John’s Hospital—How Pralines Enter the Story
At Saint John’s Hospital, you’ll connect medieval medicine with the creation of pralines. It’s a clever way to explain the chocolate link without making it feel like a gimmick. The point isn’t just that pralines exist—it’s how food, ingredients, and medicinal thinking intertwined in older times.
Stop 9: Sint-Janskaai—Stand by the Water for the Medieval Backdrop
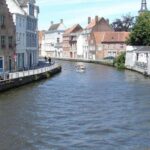
At Sint-Janskaai, you’ll take a photo by the water with a beautiful medieval background. This is the kind of stop that resets your eyes. After squares and gates, the water gives you breathing room and a sense of Bruges’ layout.
Stop 10: Huisbrouwerij De Halve Maan—A Brewery With a Pipeline Under the City
At Huisbrouwerij De Halve Maan, you’ll see Walplein near the famous brewery that has a pipeline under the city. That detail makes the brewery feel grounded in place, not just like another tourist stop with beer signage.
Stop 11: Stoofstraat—The Middle Ages Had Its Own Red Light District
In Stoofstraat, you’ll learn about the red light district of medieval Bruges and why this small street mattered for customs. You’ll also hear about the darker side of the swans—an example of how Bruges legends and symbolism can be less charming than they look on a postcard.
Stop 12: Katelijnestraat—Chocolate, Waffles, Fries, and the Plague Years
At Katelijnestraat, you get the mix of everything modern visitors expect—chocolate, waffles, fries—plus the plague and dark days of Bruges. This works well because it shows how the same streets can represent comfort now and survival in the past.
Bridges, Art Museums, and the Best Water Views
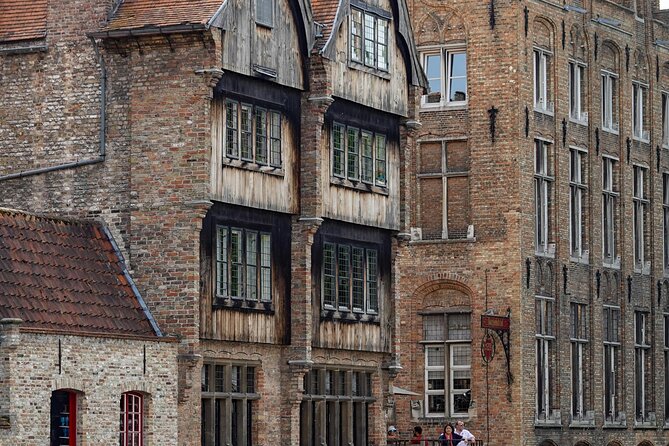
Bruges photography is a craft, not luck. This tour hits several viewpoints where the city actually looks like the photos.
Stop 13: Boniface Bridge—Love Bridge With a Twist
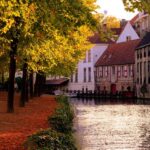
At Boniface Bridge, you’ll hear why it’s called the bridge of love, while also hearing there are some dubious sides to the story. The important part for you: it’s one of Bruges’ most picturesque spots, and it sits within the medieval gardens of Bruges, which adds calm after busy squares.
Stop 14: Groeningemuseum—Flemish Primitives Up Close (Even From Outside)
At the Groeningemuseum, you’ll get context for artists like Jan van Eyck, Hans Memling, Hugo van der Goes, and Gerard David. Even if your plan is just a highlights tour, this stop gives you a name-and-story map so you can recognize what matters if you later buy a museum ticket.
Stop: Dijver—Old Port, Viking Loot, and Big-Terrace Views
At the Dijver, you learn about the oldest port of Bruges. The story includes Vikings loading loot to transport to Scandinavia, which is a great reminder that Bruges’ waters weren’t just for scenery—they were for movement and trade. You also get one of the classic terrace views that you’ll want to remember.
Stop 15: Rosary Quay—The Photo of Bruges
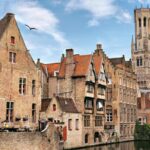
At Rosary Quay, you’ll get what many people call the best angle in town: you can capture the Belfry and the Church of Our Lady in one shot. You’ll also hear about the hotel connected to the film In Bruges, which makes the viewpoint even more fun if you’ve seen it.
Stop 16: Huidenvettersplein—Tanners, Smells, and Modern Eating
At Huidenvettersplein, you’ll hear stories about tanners in the Middle Ages. It was once one of the dirtiest and most unhygienic squares in Bruges, and yes, the old work would have been foul. Today, it’s a place to satisfy your hunger and thirst—so the contrast is the point.
Stop 17: Vismarkt—Two Fish Markets and Three Styles of Architecture
At Vismarkt, you’ll see how Gothic, Renaissance, and Classicist styles blend. The fish market angle helps you understand why this spot belonged in the city’s daily economy, not just its design history.
Stop 18: Back to Burg Square—Town Hall, Blood Chapel, Courthouse
You finish with another look at Burg Square, now framed as a conclusion. You’ll pass the town hall, the blood chapel, and the courthouse—several architectural styles in one place, with strong true stories behind them. This ending lands well because it pulls you back to the civic core you started at, so the whole walk feels like one loop.
What Guides Like Peter and Joost Add (Beyond the Facts)
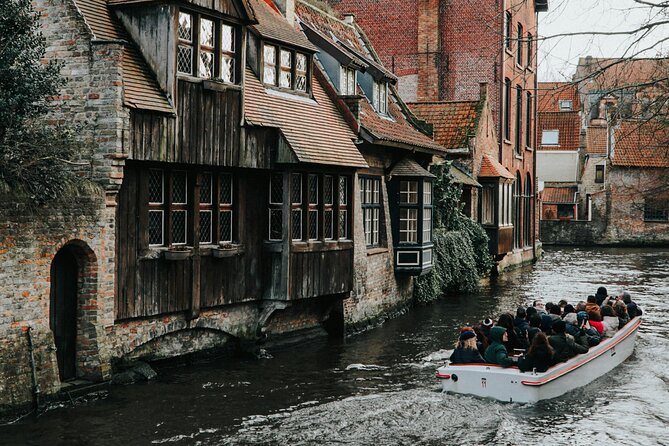
Good tours teach you facts. Great tours also teach you how to notice. In this case, the guides’ style is a big part of the value.
Peter and Joost are singled out for a mix of humor and clear pacing. That matters because Bruges cobblestones can make walking feel slower than it is. When the guide keeps the group moving smartly and tells stories that match what you’re seeing, the two hours don’t drag.
I also like that you get practical direction. Guides provide recommendations for places to eat and drink, and some even share a card with places to visit after your walk. That turns the tour from a standalone activity into the start of your Bruges plan.
Practical Tips to Make the Most of Your 2 Hours
If you want this tour to feel effortless, plan for these basics:
- Wear shoes made for cobblestones. Bruges looks smooth, but the ground is real.
- Bring a rain layer. One review noted the guide kept the group sheltered from hot weather, but Bruges weather can change fast.
- Use the photo stops intentionally. Sint-Janskaai, Dijver, and Rosary Quay are where you’ll actually want time to frame shots.
- Come hungry, but don’t over-commit. Huidenvettersplein and Katelijnestraat point you toward food right after, so keep your appetite ready.
The tour also includes rest stops, plus stops for drinking water and public toilets. In a city like Bruges, that alone can change how enjoyable the experience feels, especially if you’re walking in warmer months.
Should You Book This Tour?
Book it if you want a fast, story-led orientation to Bruges. This is a good fit for a short stay, for first-time visitors, and for anyone who likes context more than just ticking off landmarks. The small group size, the English delivery, the praline connection, and the strong photo viewpoints make it a smart use of time.
Skip it only if you prefer long museum time or you already know Bruges history well and you mostly want unstructured wandering. A two-hour walk is an overview, not a replacement for deeper museum visits.
If you do book, go with the right mindset: treat it as a guided route that helps you decide what to explore next. Then take the ideas—beer history, church art context, war memory, and those best angles by the water—and build your own Bruges day from there.